








Table of contents13
HyperDAF’s free Image Converter converts images online without uploading them. Drop up to 20 JPG, PNG, WebP, AVIF, GIF, BMP, TIFF or SVG files into your browser, pick an output format, set quality and size, and download the results. Your images never leave your device.
It is a web tool, not a Chrome extension and not an app you install. There is nothing to download, no account to create and no sign-up form to fill in. You open the page, convert, and leave with smaller files. This guide shows how to convert JPG to WebP, turn WebP back into JPG, batch convert images, and pick the right settings for Google Discover, YouTube, TikTok, Instagram and Facebook.
What this guide covers
- Convert JPG to WebP for smaller files that still look sharp
- Turn WebP back into JPG when a site or app needs a JPG
- Batch convert images — up to 20 at a time
- Convert images with no upload and no sign-up
- AVIF vs WebP: which one to pick
- HEIC to JPG: what to do when your photo is a HEIC file
- Quality, resize and platform presets that fit every feed
- Privacy, JavaScript and a short checklist before you download
Convert JPG to WebP
Converting JPG to WebP is the most common job this tool does, and it is also the easiest way to make a page faster: WebP files are usually much smaller than the JPGs they replace, and at the same quality setting most people cannot tell the difference. Drop your JPG files onto the page, make sure WEBP is selected in the “Convert to” menu — it is the default — and download the results. If you are preparing images for a blog post, it also helps to get the filename and the alt text right before you upload the converted file, as our image SEO guide explains.
WebP is the right output for almost every photo you publish on the web. Browsers have supported it for years, WordPress accepts it, and social platforms handle it. The one habit that matters is quality: for photos, 80–90% is usually the best balance between a small file and a clean image, and the tool starts you at 80%.
WebP to JPG
Sometimes you need to go the other way. A client asks for JPGs, an older tool refuses WebP, or a print shop wants a JPG file. The fix is the same flow in reverse: drop the WebP files in, choose JPG / JPEG in the “Convert to” menu, set the quality, and download. The quality slider still applies, so a photo converted at 80–90% keeps its detail while the file stays small. And because the conversion happens in your browser, the original WebP never leaves your device — the only thing that changes is the file you download.
One thing to remember when you convert WebP to JPG: JPG does not support transparency. If your WebP has a transparent background, the tool fills it with the background colour you choose — white (#ffffff) by default — so check the result before you use it.
How the Image Converter works
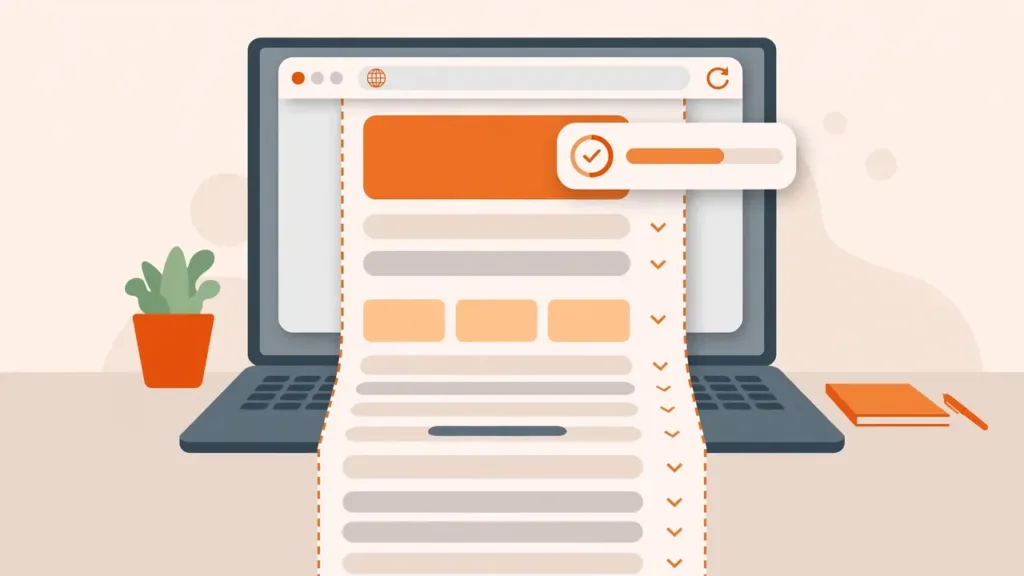
The page lists four steps, and there is nothing hidden behind them:
- Upload images — Drag & drop or browse your images.
- Choose output format — Select the format you want to convert to.
- Adjust settings — Quality, size, platform size, background, and more.
- Download — Preview and download your converted images.
You can add up to 20 images at a time, add more files to the same batch, or clear the batch and start again. There is no account and no sign-up anywhere in the flow. Once your images are converted, they are ready to use — for example, you can drop them straight into a post, as shown in the complete guide to the WordPress block editor.
Input vs output formats
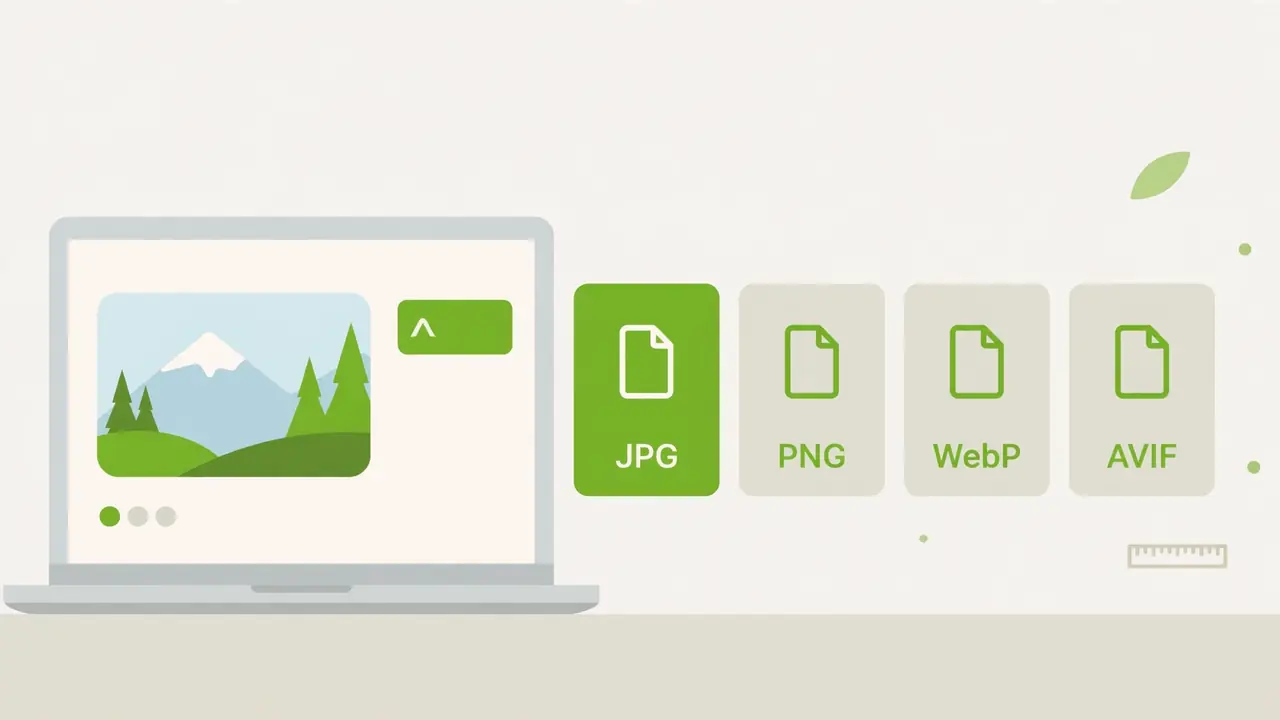
The tool accepts the formats below as inputs. The output list is almost the same, with two exceptions: AVIF is input only, and SVG is input only.
| Format | Upload (input) | Convert to (output) |
|---|---|---|
| JPG / JPEG | Yes | Yes |
| PNG | Yes | Yes |
| WebP | Yes | Yes |
| AVIF | Yes | No — input only |
| GIF | Yes | Yes |
| BMP | Yes | Yes |
| TIFF | Yes | Yes |
| SVG | Yes | No — input only |
| ICO | Yes | Yes |
| Yes | Yes | |
| TGA | Yes | Yes |
| QOI | Yes | Yes |
| WBMP | Yes | Yes |
AVIF is input only: you can convert an AVIF file into WebP, JPG or PNG, but you cannot convert other formats into AVIF here. HEIC is not supported at all — it does not appear in the tool’s supported formats, so a HEIC file cannot be uploaded. If your photo is a HEIC file, convert it to JPG or PNG on your device first, then bring the result here if you need WebP.
The format you choose should match the job. WebP is the practical choice for photos on the web. PNG is the choice when you need transparency or crisp text and graphics. JPG is the choice when the place you are sending the image to only accepts JPG. Good alt text still matters whatever the format — see our screen-reader-friendly content guide for how to write it.
AVIF vs WebP: which one should you pick?
AVIF and WebP are both modern formats that make smaller files than JPG, and it is natural to compare them. In this tool, the comparison has a simple answer: AVIF is an input format and WebP is an output format. You can upload an AVIF file and convert it to WebP, JPG or PNG — and converting AVIF to WebP is the most useful move, because WebP works everywhere on the web while AVIF support is still catching up. There is no AVIF output here, so the choice is made for you: WebP is the format to convert to.
One detail is worth knowing if you convert AVIF files. Every other conversion happens in your browser, but AVIF is the exception: the page states that all conversions happen in your browser — except AVIF, which our server converts in memory and never stores. So an AVIF file is the one case where your image briefly goes to the server, and it is converted in memory and never stored.
HEIC to JPG: what the tool does not do
HEIC is the format iPhones use for photos, so “HEIC to JPG” is one of the most searched image questions — and it is the one job this tool does not do. HEIC is not in the supported formats list, and the upload area does not accept it. If you have a HEIC photo, convert it to JPG or PNG on your own device first — your phone or computer can already do that — and then use this tool for the next step, such as turning that JPG into a smaller WebP for the web.
Quality and size: the two settings that matter most
The Quality slider runs from 10 to 100 and starts at 80%. The rule is simple: higher quality means a larger file. For photos, 80–90% is usually the best balance, which is why 80% is the default. If the image is a logo, a screenshot or anything with text, try the Lossless option instead — it keeps every detail at the cost of a larger file. Smaller images also mean faster pages, and our page speed guide for block layouts shows how much image weight matters.
The Resize menu has the sizes people actually need. Leave it on Original Size to keep the image as it is, pick Custom Size to type your own width and height, or use a ready-made preset: Google Discover Recommended — 1280 × 720; 1280 × 720 HD / YouTube Thumbnail; 1920 × 1080 Full HD / Video Cover; 1200 × 675 Social Landscape; 1200 × 630 Facebook / Open Graph; 1080 × 1920 Vertical — TikTok / Reels / Shorts / Stories; 1080 × 1350 Instagram Portrait Feed; 1080 × 1080 Square — Instagram / Facebook; and 1200 × 1200 Square High Resolution. The Fit setting decides how the image meets the new size: No Crop / Contain keeps the whole image, Crop Fill / Cover fills the frame, and Stretch Exact Size forces the exact dimensions. If you publish in WordPress, block patterns make it quick to reuse the resized images across your site.
The four options, explained
- Lossless (if supported) — No quality loss, larger file size. Use it for graphics, screenshots and text, where compression artefacts would show.
- Keep EXIF Data — Preserve image metadata. This is on by default, and it keeps details such as camera settings and orientation with the file.
- Auto Rotate — Based on image orientation. This is on by default, and it turns sideways phone photos the right way up.
- Strip Metadata — Remove metadata for smaller size. Use it when you want the smallest file and do not need the metadata.
Keep EXIF and Strip Metadata pull in opposite directions, so pick one: keep the metadata when it matters — for example, when the photo’s details are part of the story — and strip it when the smallest file is the goal. Auto Rotate is safe to leave on; it only acts when the photo’s orientation data says the image is sideways.
Batch convert images: up to 20 at a time
Converting one image at a time is slow, so the tool is built for batches: drop up to 20 images in one go and convert them together. That is the limit — the tool enforces up to 20 images at a time, so a bigger job needs a second batch. When the batch is done, download each converted image on its own, or download them all at once as a ZIP, and check the savings shown for each file so you can see how much smaller the converted version is before you save it.
A practical batch habit is to convert first and sort later: drop the whole set in, convert to WebP at 80%, check the savings, and only then pick the platform size for the images that need it. Resizing is a second pass — the converter does the format and the size in the same flow, but it is easier to judge quality when every image in the batch shares the same settings.
Privacy: your images never leave your device
The page puts it plainly: “Your images never leave your device.” All conversions happen in your browser, which is why there is no upload step and no sign-up — there is nothing for the site to store, because the files never arrive. The one exception is AVIF, and the page states it exactly: “All conversions happen in your browser — except AVIF, which our server converts in memory and never stores.” So an AVIF file is sent to the server, converted in memory, and never stored. Nothing else leaves your device.
That is also why the tool asks for nothing: no email, no account, no file history. Close the tab and the images are gone — they were only ever in your browser.
Do you need JavaScript?
Yes. The converter runs entirely in your browser, so it needs JavaScript enabled to work. If JavaScript is off, the tool cannot run: enable JavaScript in your browser settings, reload the page, and the converter will appear. There is nothing to install and no extension involved — it is a web tool that runs on the page itself.
Checklist: convert images online without mistakes
- Check the format: is your file JPG, PNG, WebP, AVIF, GIF, BMP, TIFF, SVG, ICO, PDF, TGA, QOI or WBMP?
- Count your batch: 20 images at a time, no more.
- Pick the output first — WebP for the web, JPG for compatibility, PNG when you need transparency.
- Set quality: 80% is the default, and 80–90% is the best balance for photos.
- Pick a size preset for the platform the image is for — or leave Original Size.
- Decide about metadata: keep EXIF, or strip it for the smallest file.
- Preview the result, check the savings, then download.
Ready to try it? Open the free Image Converter and convert your first image now — no upload, no sign-up, up to 20 images at a time.