Clicking “update” on WordPress core, a theme, or a plugin takes two seconds. Recovering from an update gone wrong can take two days. The difference between those outcomes is rarely luck — it is whether you ran a checklist before and after. Professional site managers update constantly without fear because their process makes failures rare and recovery routine.
This is that process, distilled into a practical checklist you can follow before every update and after every update, whether you manage one personal site or fifty client installations. Keep it somewhere you will actually see it — bookmarked, printed, or pinned in your project notes.
Why Updates Break Sites (And Why That Is Normal)
Updates break sites for understandable reasons. WordPress core, your theme, and each plugin are built by different teams on different schedules. An update to one can conflict with the assumptions of another: a changed function, a renamed hook, a JavaScript library bumped to a new version. Most of the time everything is compatible; occasionally it is not.
The most frequent offenders are JavaScript library changes (an updated library behaving slightly differently than the version a plugin was built against), deprecated PHP functions finally being removed, and CSS changes in the admin or block editor that shift carefully positioned interfaces. None of these are anyone’s fault — they are the natural friction of independently evolving software. The goal of a checklist is not to prevent all conflicts — that is impossible — but to make them cheap. A conflict discovered on a staging copy costs you ten minutes. The same conflict discovered by your visitors costs you trust, sales, and a stressful emergency. Every item below exists to move discovery earlier, when fixes are easy.
Before You Update: The Non-Negotiables
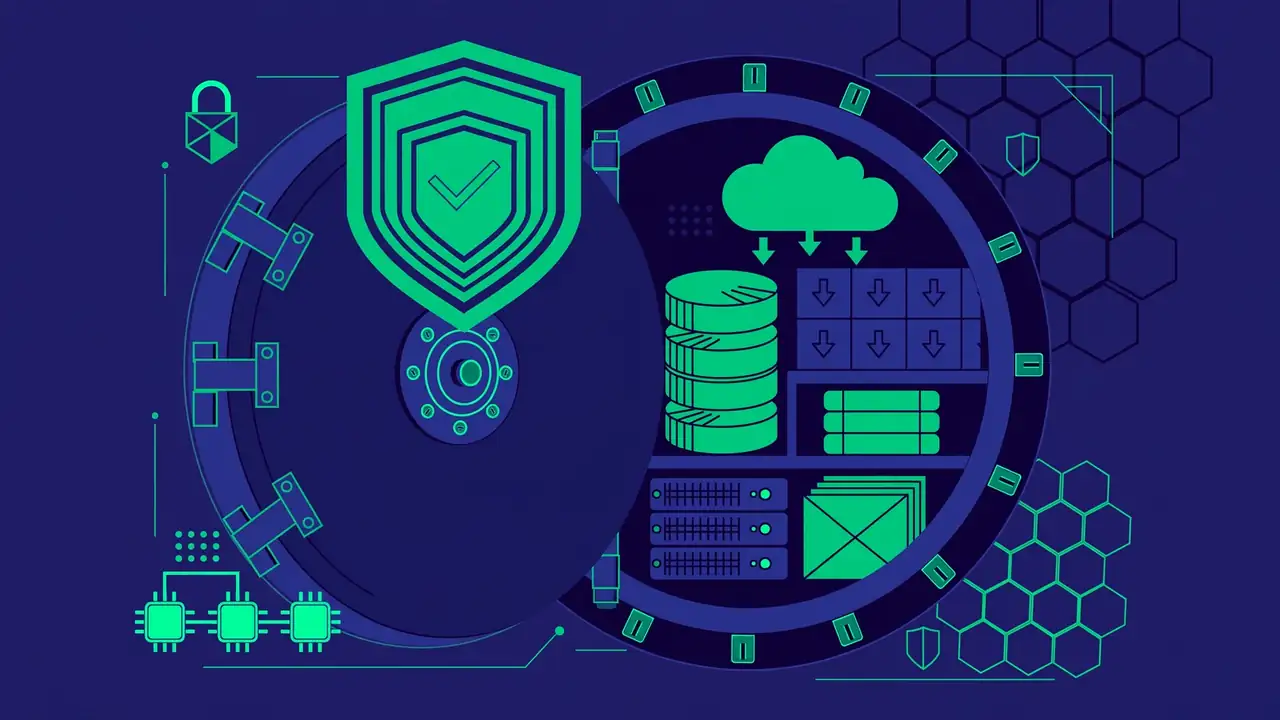
Three steps are mandatory before any manual update. Skip them only if you enjoy excitement.
- Take a complete backup. Files plus database, stored somewhere you can reach even if the site is down. Confirm the backup actually completed — check its timestamp and size rather than assuming.
- Read the changelog. Every reputable plugin and theme ships changelog notes with each release. Look for mentions of breaking changes, dropped compatibility, or required PHP versions. A thirty-second read often reveals exactly what to watch for.
- Check compatibility signals. For major core updates, verify that your theme and critical plugins declare support for the new version. For plugin updates, glance at recent support threads — a flood of fresh breakage reports is a signal to wait a few days.
For high-stakes sites, add a fourth: test on staging first. Clone the site, run the updates there, and click through your critical paths. Staging catches the vast majority of conflicts before they can touch production, and it turns update day from a gamble into a routine.
Update in the Right Order
Order matters more than most people realize. The safest sequence is:
- Backups and small utilities first. Update your backup solution before anything else, so the tool protecting you is current.
- Plugins next, one group at a time. Update in small batches rather than all at once — if something breaks, you know which batch caused it.
- Theme after plugins. Themes often depend on plugin functionality, so let plugins settle first.
- WordPress core last. Core is the foundation everything else stands on; update it once the layers above are current.
Between each batch, do a quick visual check of the site. This takes seconds and localizes any problem immediately. Updating twenty plugins at once and then hunting for the culprit is the update equivalent of changing every variable in an experiment simultaneously.
When to wait instead of updating
Not every update deserves immediate action. If a major core release landed yesterday and a plugin critical to your revenue has no compatibility statement yet, waiting a week is prudent, not lazy. Similarly, if you are about to launch a campaign or enter your busiest season, freeze updates until the critical period passes — unless the update fixes a security issue, in which case it jumps the queue.
Tip: keep a simple update log — date, what was updated, and any issues noticed. When something misbehaves weeks later, the log is often the fastest route to the cause.
Special Cases That Need Extra Care
Some sites carry more update risk than others, and they deserve an upgraded routine. E-commerce stores top the list: a broken checkout directly costs money, so updates should happen during the lowest-traffic hours, with a test order placed immediately afterward on both desktop and mobile. If your store processes payments, verify the payment gateway’s compatibility statement before updating anything it touches.
Membership and community sites come next. Anything involving user accounts, login flows, content restriction, or private messaging should be tested with a real test account after updates — admin-only testing misses the member experience entirely. Create a dedicated subscriber-level test user and keep its credentials with your site documentation.
Multisite networks multiply every risk by the number of sites. Update the network during a announced maintenance window, test several representative subsites (not just the main one), and remember that a single incompatible plugin can affect every site on the network simultaneously. For multisite, staging is not optional — it is the only sane way to update.
Finally, sites with heavy customization — child themes with extensive overrides, custom plugins, or deep integrations — should treat every update as guilty until proven innocent. Keep a list of your customizations and which updates touch them; when in doubt, have a developer review the changelog before you click.
After You Update: The Verification Pass
Updates are only half done when the progress bar finishes. Run this verification pass every time:
- Frontend check, logged out: homepage, a post, a page, and your most important conversion page. Look for layout breakage, missing elements, and error messages.
- Functionality check: submit your contact form, run a site search, and walk through checkout or signup if applicable.
- Admin check: open the dashboard, the editor, and the media library. Confirm nothing throws errors and the editing experience feels normal.
- Cache purge: clear every caching layer — plugin, server, and CDN — then re-check the frontend. Stale cache is the number one cause of “the update broke my site” reports that are not actually breakage.
- Site Health: visit the built-in Site Health screen and address any new warnings the update surfaced.
- Backup verification: confirm your automated backup ran successfully after the update, so your restore point reflects the new state.
If Something Breaks: The Recovery Playbook
Even with a checklist, things occasionally go wrong. Do not panic — follow the playbook in order:
- Identify the scope. Is it one page, one feature, or the whole site? A white screen everywhere suggests a fatal error; a single broken feature suggests one specific update.
- Check the error. Enable debugging on staging (never leave it on in production) or check the server error log. The actual error message usually names the culprit file.
- Deactivate the suspect. If a plugin update caused it, roll that plugin back to its previous version or deactivate it temporarily. If core caused it, restore from your pre-update backup.
- Restore if needed. This is what the backup was for. A full restore returns you to the working state in minutes, and there is no shame in using it — that is professionalism, not failure.
- Report and wait. Report the issue to the developer with details, then wait for a fix rather than hacking your site around the bug. Temporary workarounds have a way of becoming permanent technical debt.
The critical insight: recovery is fast because you prepared. The backup, the changelog reading, the staged test — every boring step before the update is what makes the exciting moment after it survivable.
Automate What You Can, Supervise the Rest
You do not have to do all of this by hand forever. Automatic updates for minor core releases and trusted plugins remove most of the routine workload. Uptime monitoring alerts you within minutes if an automatic update causes trouble. Scheduled off-site backups mean you always have a restore point without thinking about it.
What should always stay manual: major core updates on important sites, updates to anything business-critical, and the verification pass itself. Automation handles the predictable; your judgment handles everything else. Print this checklist, adapt it to your sites, and review it once a year as your sites and tools evolve. Do that, and updates become what they should be — a quiet background process, not a recurring emergency.