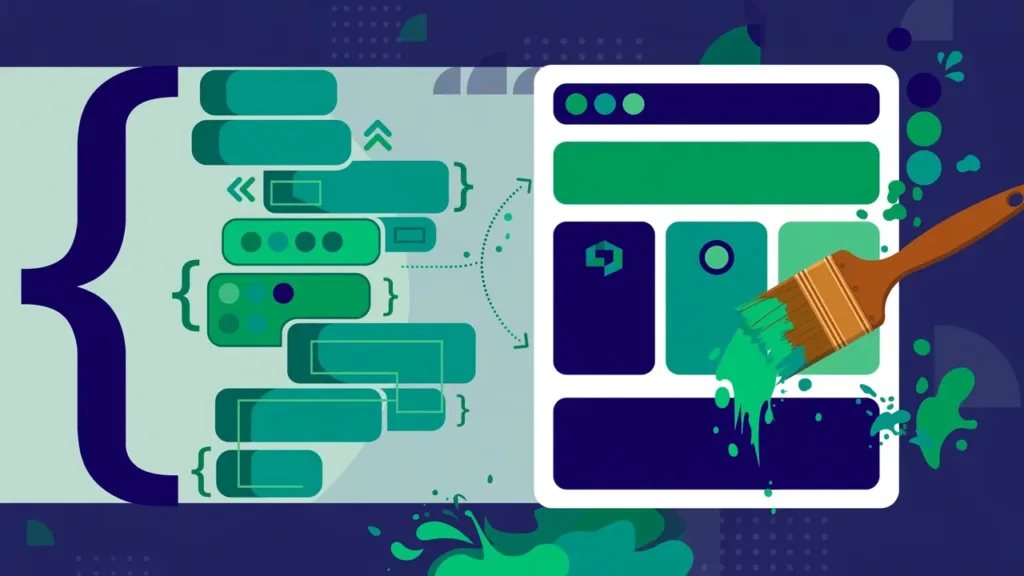
Every WordPress owner eventually wants the site to look different — different colors, different header, different everything. And every WordPress owner has heard a horror story about a customization gone wrong: the white screen, the vanished styling, the weekend lost to reconstruction. The difference between the two outcomes is not talent; it is method. WordPress gives you four levels of customization, each with more power and more risk than the last. Used in order, they let you change almost anything without ever endangering your live site.
Level 1: The Customizer (Zero Risk)
Appearance → Customize is where every customization journey should start. It offers live previews of every change, organized panels for identity, colors, typography, menus, widgets, and homepage settings — and crucially, nothing goes live until you click Publish. You can experiment freely for an hour, close the tab, and your site is untouched. That safety makes the Customizer the ideal learning environment: it is where you should develop your eye for what looks good before touching anything riskier.
The Customizer also keeps a revision history of your changes, so you can roll back to an earlier state when an experiment goes sideways. And its Additional CSS panel stores your CSS in the database, safe from theme updates — unlike edits to theme files, which updates destroy. Rule of thumb: if the Customizer can do what you want, do it there. It is the only customization method with a built-in undo button for everything, and “good enough via Customizer” beats “perfect via risky hack” every single time.
The Customizer’s limits are real, though — it exposes only what your theme chooses to expose. A minimal theme might offer colors and nothing else; a rich one might cover the entire design. When you need changes the Customizer doesn’t offer, move up a level rather than fighting it. Frustration with the Customizer’s limits is usually a sign you have outgrown Level 1, not a sign to force it.
Level 2: The Child Theme (For Code Changes)
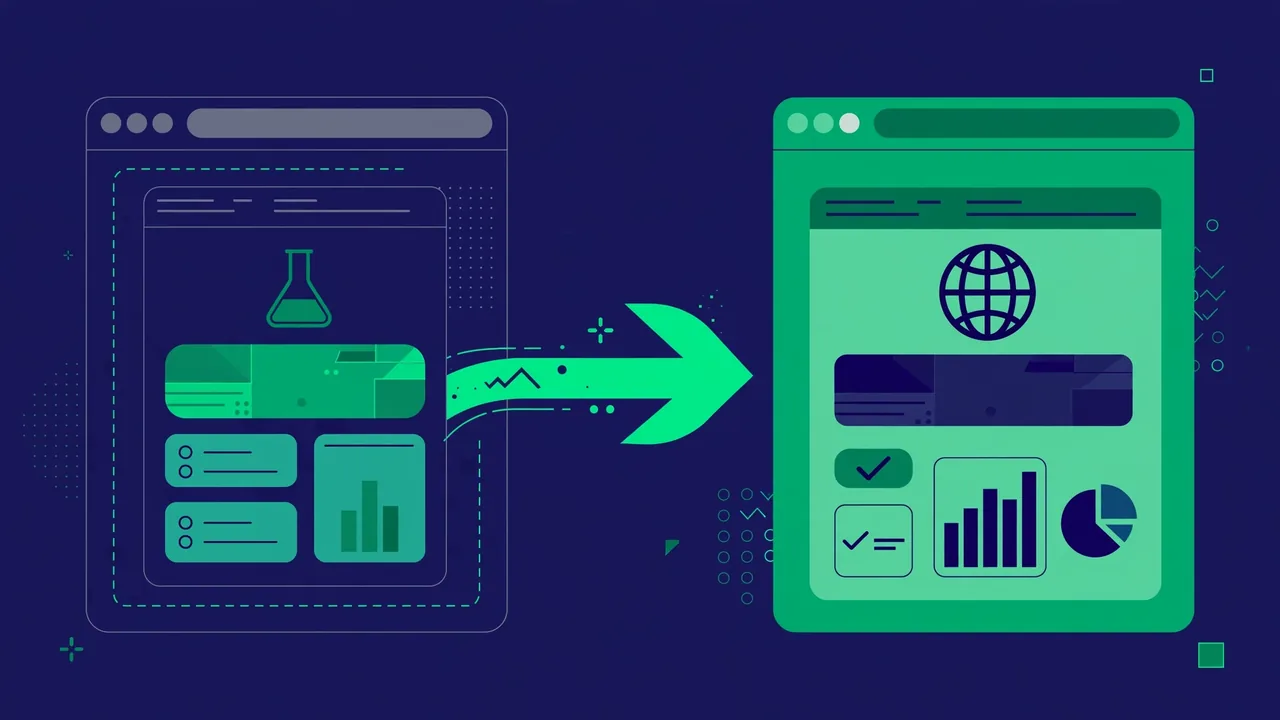
The moment you want to edit PHP templates or theme stylesheets directly, you need a child theme. Editing the parent theme is the classic way customizations get destroyed: the next theme update replaces every file you touched, silently and completely. A child theme inherits the parent completely and holds only your overrides, so updates flow through safely and your work survives indefinitely.
A minimal child theme needs just two things: a folder in /wp-content/themes/ and a style.css whose header comment names the parent theme as its template. Add a functions.php to enqueue the parent stylesheet correctly, and activate the child theme instead of the parent. From then on, the workflow is: copy any parent template file you want to change into the child folder (keeping the same path), edit the copy, and WordPress will automatically prefer your version over the parent’s. The parent remains pristine, updates remain safe, and your customizations live in files you own.
What Belongs in a Child Theme
Template overrides (a custom header layout, a modified single-post template, a bespoke archive page), PHP functions (custom shortcodes, filter hooks that alter theme behavior), and extensive CSS that has outgrown the Additional CSS panel. What does not belong there: functionality that should survive a theme switch — contact forms, custom post types, SEO logic — that belongs in a plugin. A child theme is for presentation changes tied to this specific theme. Keeping that boundary clean means your next theme switch is a design project, not an archaeological dig.
Common Child Theme Mistakes
Three errors trap beginners: forgetting to enqueue the parent stylesheet (result: an unstyled site — always enqueue properly rather than using @import, which is slower); editing the parent “just this once” because it is faster (it never is, measured over the theme’s lifetime); and putting so much in the child theme that updating the parent becomes scary anyway. If your child theme overrides half the parent’s templates, consider whether you actually need a different parent theme.
Level 3: Page Builders and Block Patterns (For Layout Freedom)
When you want pages that look nothing like your theme’s templates — landing pages, sales pages, portfolios, coming-soon pages — you need layout freedom beyond what the Customizer offers. The modern WordPress answer is block patterns and the Site Editor (with a block theme): compose custom layouts from blocks, save them as reusable patterns, and assemble pages visually with no code at all. Template parts for headers and footers can be redesigned the same way.
The safe-customization principles still apply at this level, with one addition: beware sprawl. It is easy to build forty one-off pages, each with inline styles and unique structures that nobody can maintain. Patterns are the discipline that prevents it — build the section once, save it, reuse it. Give patterns clear names and categories, review them quarterly, and delete the ones nobody uses. A pattern library is a design system; forty snowflake pages are a liability. Also remember that heavily customized pages are coupled to the tools that built them — document which pages use which patterns so future redesigns don’t require detective work.
Level 4: Staging (For Anything Ambitious)
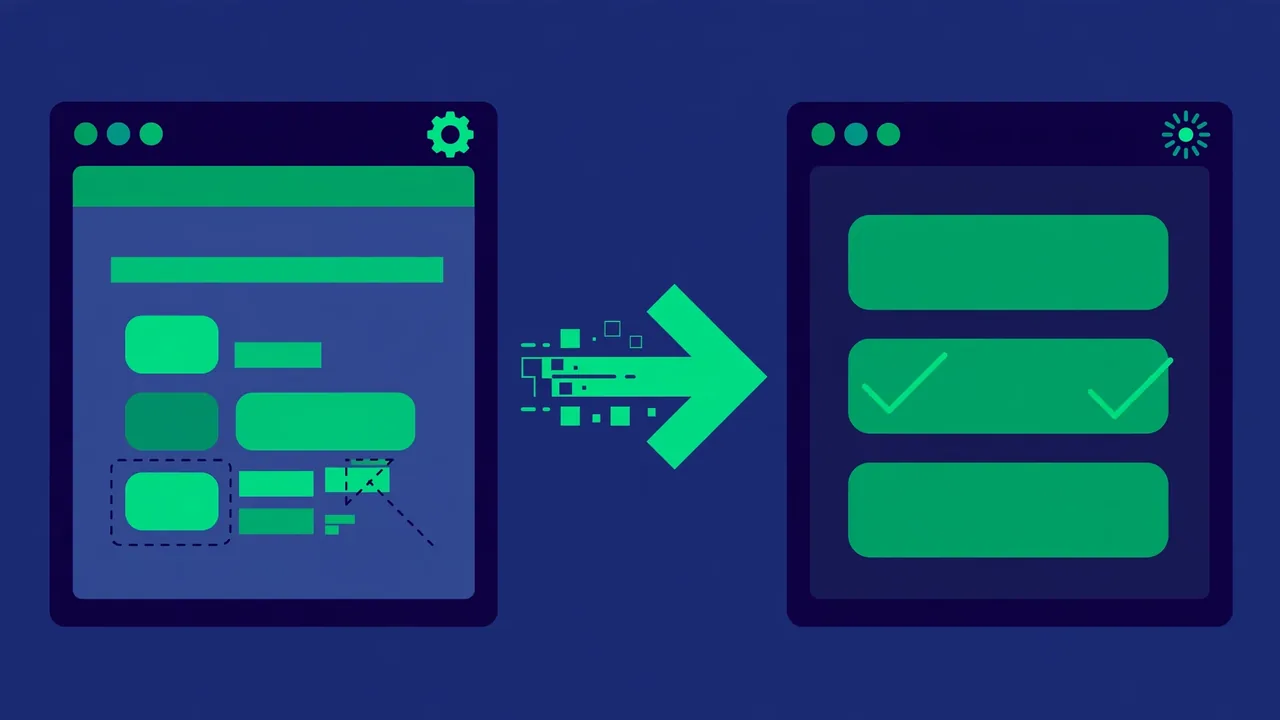
A staging site is a private, exact copy of your site where you can break things freely with zero consequences. Redesigning the whole site? Testing a new theme with heavy customization? Restructuring navigation or changing permalink structures? Do it on staging, perfect it over days or weeks, then push to live in one controlled deployment. Most quality hosts offer one-click staging; the workflow is: create the staging copy, make your changes, test thoroughly (including as a logged-out visitor on mobile, which is how your audience experiences the site), then deploy.
Staging also solves the client-approval problem elegantly — share the staging URL, collect feedback, iterate through revisions — all without your live site ever showing work-in-progress. If your host lacks staging, a local development copy on your own computer serves the same purpose for design work, and a manual subdomain copy works for everyone else. The method matters less than the principle: never experiment on the live site. Live is for finished work only.
The Customization Toolkit: Free Capabilities Worth Knowing
Beyond the four levels, a few built-in WordPress capabilities make customizers’ lives easier. Revisions exist for posts and pages, not just the Customizer — before restructuring a long page, you have a safety net in the editor itself. Widget and menu management under Appearance lets you reconfigure sidebars and navigation without code. The Site Health screen (Tools → Site Health) flags problems your customizations might cause, like PHP version issues with custom code. And your browser’s developer tools (right-click → Inspect) let you test CSS changes live on the page before committing them to Additional CSS — the fastest way to experiment with styling, bar none. Learn to inspect elements and half of CSS customization becomes visual rather than theoretical.
The Safety System That Ties It Together
Whichever levels you use, three habits make customization genuinely safe:
- Back up before significant changes. Not “have backups enabled” — run a fresh backup right before the work session, and verify it completed. Restoring a backup from this morning beats reconstructing three hours of customization, and “the backup was running” is not the same as “the backup exists.”
- Change one thing at a time. Change the header color, check it on desktop and mobile, then change the typography. When something looks wrong, you know exactly which change caused it. Batch-changing ten settings then debugging is how afternoons disappear into frustration.
- Document what you did. A simple note — “header background changed in Customizer → Header; button radius in Additional CSS; single-post template overridden in child theme” — is invaluable six months later when something needs adjusting and you cannot remember where a style lives. Future you is effectively a different person; leave them instructions.
The Rollback Plan
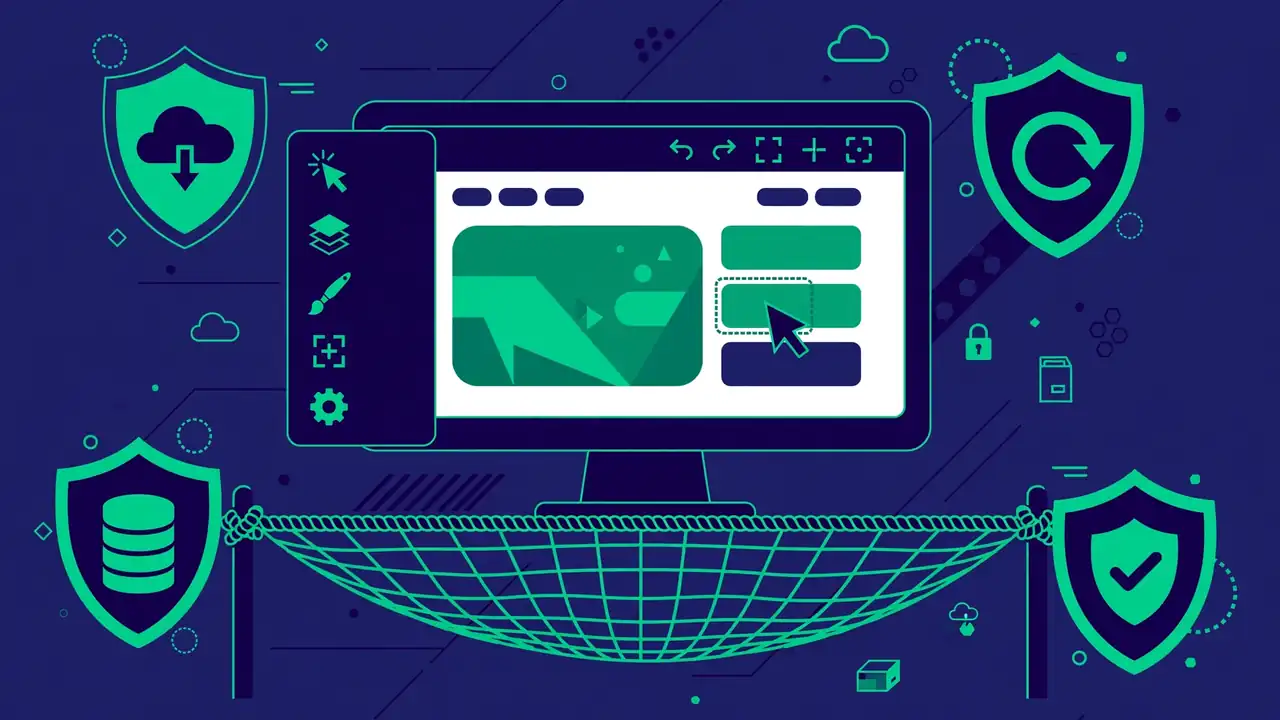
Before any customization session, know your way back for each level you will touch: Customizer revisions for Customizer work, file backups or version control for child theme edits, staging snapshots for big projects, and a full site backup as the ultimate undo that covers everything. Customization without a rollback plan is not customization — it is gambling with your live site as the stake. Write the plan down before you start, not after something breaks.
Pro tip: after any customization session, open your site in a private browser window as a logged-out visitor and click through five pages on your phone. Admins see cached, logged-in versions of sites with admin bars and extra capabilities; visitors see the truth, and the truth is what you just changed.
Customize in order — Customizer first, child theme for code, patterns for layouts, staging for the ambitious — backed by backups, incremental changes, and notes. That is the entire methodology, and it scales from a color tweak to a full redesign. It is not restrictive; it is liberating, because once breaking the live site is off the table, you are finally free to experiment boldly.