Installing a WordPress theme takes less than a minute — but installing it the right way takes a little longer, and the difference shows. A rushed installation is how people end up with broken layouts, missing demo content, lost widgets, and a site that looks nothing like the preview they fell in love with. This guide walks you through every reliable method to install a WordPress theme, then covers the setup steps that turn a fresh installation into a finished website.
Before You Install: What to Prepare
A smooth theme installation starts before you click anything. First, back up your site. If you already have content, menus, or customizations, a backup is your safety net — theme switches can move widgets around and occasionally conflict with existing settings. Most decent hosts offer one-click backups; if yours does not, install a backup plugin and run a full backup first.
Second, check the theme’s requirements. Every well-built theme lists the minimum WordPress version and PHP version it needs. You will find this information on the theme’s page in the WordPress directory or in the documentation that ships with a premium theme. Running an outdated PHP version is one of the most common causes of white screens after activation, and updating PHP is usually a one-click job in your hosting control panel.
Third, note down your current customizations. If you added CSS in the Customizer, take a copy of it. If you edited theme files directly (which you should avoid — more on that later), those edits live inside the old theme’s folder and will vanish when you switch. A child theme is the correct home for direct file edits, and we will come back to that.
Method 1: Install From the WordPress Theme Directory
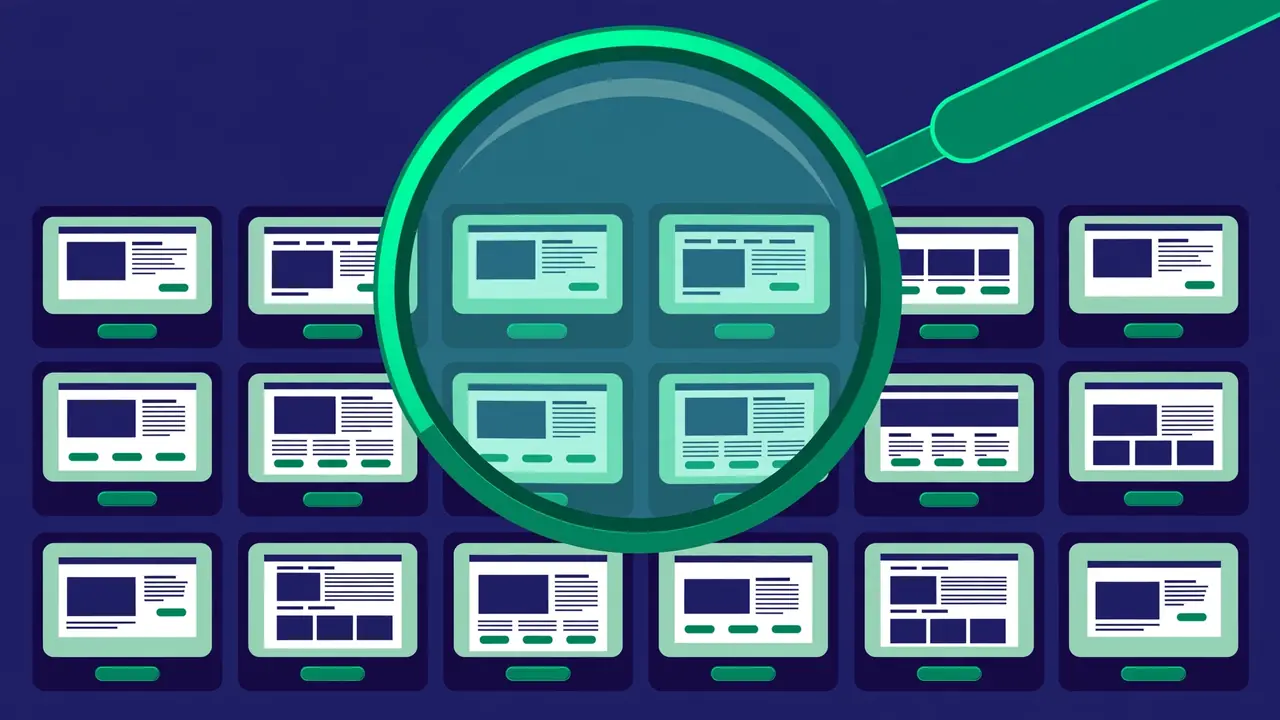
This is the easiest and safest method, and it covers thousands of free themes reviewed against WordPress coding standards. It works entirely inside your dashboard:
- Go to Appearance → Themes in your WordPress dashboard.
- Click Add New at the top of the page.
- Browse the featured themes or use the search box to find a theme by name or keyword.
- Hover over a theme and click Preview to see a live demo with your own content, or click Install straight away.
- Once installed, click Activate.
The Feature Filter on the Add Themes screen is worth knowing about. It lets you filter by layout, subject, and features — for example, a two-column blog layout with a custom header. Using it narrows thousands of options down to a shortlist that actually matches your project, which saves a surprising amount of time.
One habit to build here: preview before you activate. The preview shows your existing posts, pages, and menus inside the new theme. If your content looks broken in the preview, it will look broken when activated — better to discover that now than after your visitors do.
Method 2: Upload a Theme ZIP File
When you buy a premium theme or download one from outside the official directory, you will receive it as a .zip file. WordPress can install it directly:
- Go to Appearance → Themes → Add New.
- Click Upload Theme at the top.
- Click Choose File, select the .zip file from your computer, and click Install Now.
- When the upload finishes, click Activate.
Two gotchas catch people here. First, make sure you upload the theme zip, not the whole purchase package. Premium theme sellers often bundle documentation, licensing files, and sometimes a child theme inside one big zip — the installable theme is a smaller zip nested inside. If WordPress complains about a missing stylesheet, you almost certainly uploaded the outer package. Unzip it on your computer first and upload the inner theme zip.
Second, some hosts set low upload limits, and a large theme zip can fail silently or time out. If the upload stalls, check with your host about raising the limit, or use the FTP method below.
Method 3: Install via FTP When Nothing Else Works
FTP installation is the manual fallback. It is also the method you will use if a dashboard upload keeps failing. You need an FTP client and your hosting login credentials:
- Unzip the theme file on your computer. You should see a single folder containing files like style.css and index.php.
- Connect to your site with the FTP client and navigate to /wp-content/themes/.
- Upload the entire theme folder (not the zip) into the themes directory.
- Back in WordPress, go to Appearance → Themes — the theme will be listed. Click Activate.
The critical detail: upload the folder so that the path reads /wp-content/themes/your-theme-name/style.css. If you accidentally nest it one level too deep (a folder inside a folder), WordPress will not detect the theme. This single mistake accounts for most “my theme doesn’t show up” support threads.
After Activation: The Setup Steps Most Beginners Skip
Activating is not finishing. A freshly activated theme is a blank canvas, and these are the steps that turn it into a working site:
- Assign your menus. Go to Appearance → Menus and assign your existing menus to the new theme’s menu locations. Menu locations have different names in every theme, so a menu that appeared in the header before may now be unassigned and invisible.
- Check your widgets. WordPress tries to preserve widgets, but sidebar and footer widget areas differ between themes. Visit Appearance → Widgets and move anything sitting in “Inactive Widgets” back where it belongs.
- Set a static homepage if you use one. Under Settings → Reading, confirm your homepage and posts page are still assigned correctly.
- Regenerate thumbnails if layouts look off. Themes define their own image sizes. If featured images look stretched or blurry after switching, the old thumbnails were generated for the old theme’s dimensions. A regenerate-thumbnails plugin rebuilds them for the new sizes.
- Walk through the Customizer. Open Appearance → Customize and go through every panel: site identity, colors, typography, header, footer. This is where the theme’s real options live, and ten minutes here replaces hours of confused tweaking later.
- Test on mobile. Resize your browser or open the site on your phone. Check the menu, the homepage layout, and at least one article page. Mobile issues caught now are trivial; caught by visitors, they cost you credibility.
Switching Themes Without Losing Content
Here is the reassuring truth about WordPress: your content is separate from your theme. Posts, pages, images, and comments live in the database; the theme only controls how they are displayed. Switching themes never deletes content. What it can disturb is presentation-layer configuration: menu assignments, widget placements, Customizer settings, and anything stored by the old theme.
The safe switching routine is: back up, preview the new theme with the live preview tool, activate, then immediately reassign menus and check widgets. If your old theme came with special content types — portfolios, testimonials, sliders built into the theme rather than a plugin — export or migrate that content first, because theme-specific content types disappear with the theme. This is a good argument for keeping functionality in plugins and letting themes handle appearance only.
What About a Child Theme?
If you plan to edit theme files directly — PHP templates, or substantial CSS — do it in a child theme. A child theme inherits everything from the parent and lets you override only what you change. When the parent theme updates, your edits survive. Without one, the first theme update wipes every direct edit you made. Setting up a child theme takes five minutes: a folder, a stylesheet with a header comment naming the parent, and activation. It is the single highest-value habit in WordPress theming.
Troubleshooting Common Installation Problems
Most theme installation failures fall into a short list with known fixes:
- “The package could not be installed. The theme is missing the style.css stylesheet.” You uploaded the wrong zip (the outer purchase bundle) or a nested folder. Unzip and upload the inner theme zip.
- White screen after activation. Almost always a PHP version conflict or a fatal error in the theme. Rename the theme’s folder via FTP to force WordPress back to a default theme, then check the requirements.
- “Are you sure you want to do this?” during upload. Your login session expired or the upload exceeded a limit. Log out, log back in, and try again; if it persists, ask your host about upload limits.
- Demo content looks nothing like the preview. You skipped the demo import. Most premium themes ship a one-click demo importer — run it, then replace the demo text and images with your own.
- Site looks broken only on some pages. Page builders and custom templates from the old theme do not carry over. Rebuild those pages with the new theme’s tools.
Pro tip: install and evaluate new themes on a staging copy of your site first. Every decent host offers one-click staging. Testing there means your visitors never see the awkward middle stages of a theme switch.
Installing a WordPress theme is easy; installing it well is a short checklist. Back up, check requirements, use the right method for your situation, then work through menus, widgets, the Customizer, and mobile testing after activation. Do that every time, and theme changes become boring in the best possible way — predictable, reversible, and free of surprises.