






Table of contents22
Full Page Fetch is a free Chrome extension from HyperDAF Official that captures full-page, visible-area and region screenshots, shows live progress in a compact card at the top-right, and opens the result in a new tab at 100% actual size — all on your device, with no account, no upload and no tracking.
If you have ever tried to show someone a whole web page, you know the problem. A normal screenshot stops at the bottom of your screen. You end up taking five overlapping shots, stitching them together in another app, and hoping nothing moved in between. A full-page screenshot should do that work for you: scroll the page, capture every part, and hand you one clean image. That is the job Full Page Fetch is built for, and this guide shows you exactly how it works, what it can and cannot do, and how to get a good result on your first try.
What you will learn
- How Full Page Fetch works in three steps
- Which capture mode to use, and when
- How to edit a screenshot without leaving Chrome
- Which format to save in, and the BMP and TIFF clipboard catch
- The real limits on very tall pages
- What the extension can and cannot see about you
What is Full Page Fetch?
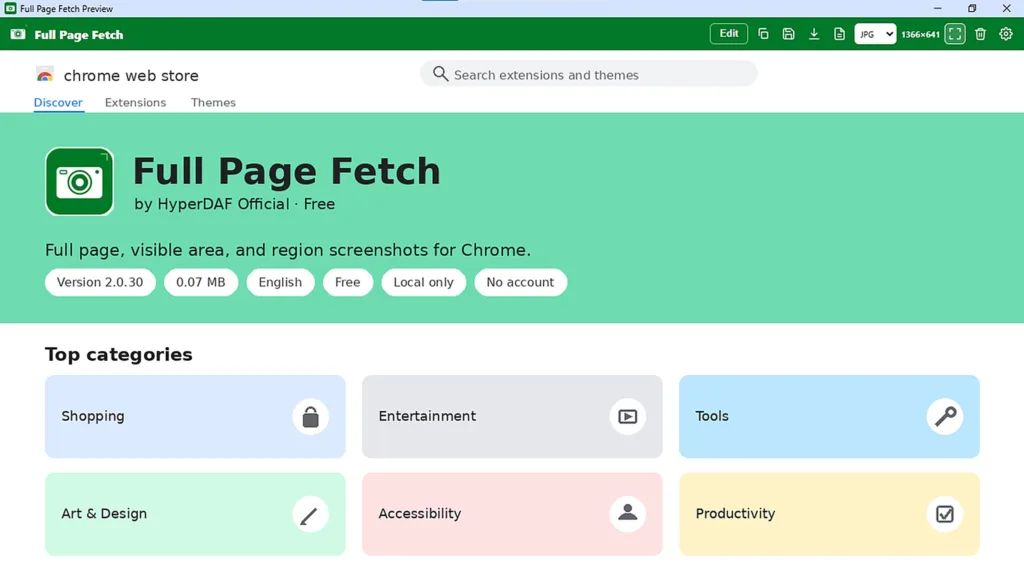
Full Page Fetch is a free Chrome extension offered by HyperDAF Official. Version 2.0.30 was updated on November 5, 2026. It is a small download at 71.4KiB, it is in English, and it is free, local only, with no account. You install it, and you capture right away. There is nothing to sign up for and no paid version of the extension.
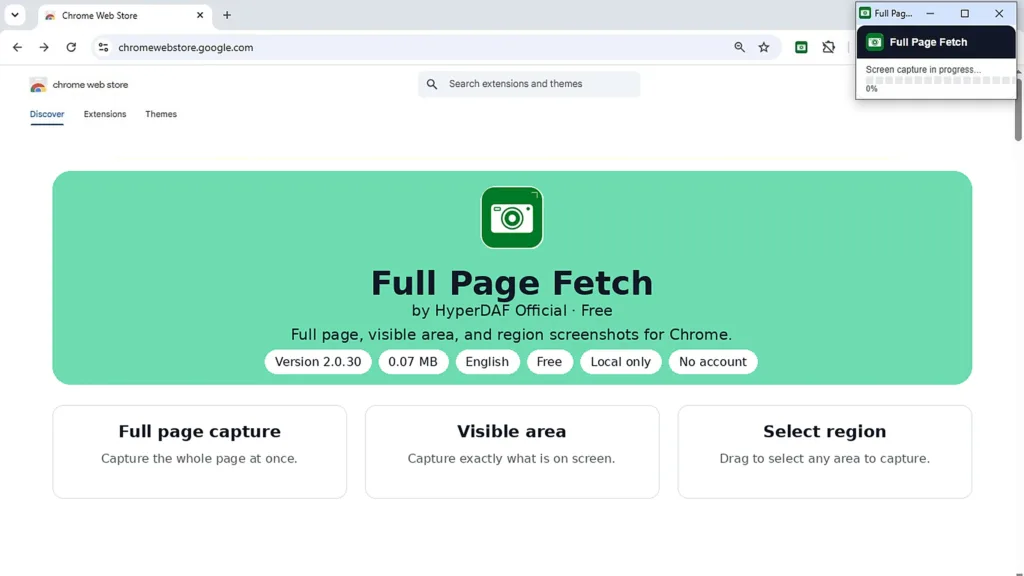
It captures three things: the full page, the visible area, and a region you select by dragging. While a full-page capture runs, a compact progress card stays at the top-right corner of the browser window, showing live squares and a percent so you can see how far the capture has gone. When the capture finishes, the card shows Complete and closes, and the screenshot opens in a new tab at 100% actual size. From there you can edit it in the built-in editor, then copy it, save it, download it, or export it as a PDF. It saves in JPG, PNG, WebP, BMP and TIFF, plus PDF export.
How it works in three steps
Step 1: Install it free from the Chrome Web Store
Add Full Page Fetch to Chrome from its Chrome Web Store listing. There is no account to create and nothing to pay. Once it is installed, the extension is ready on any page you can view in Chrome.
Step 2: Open the page and choose what to capture
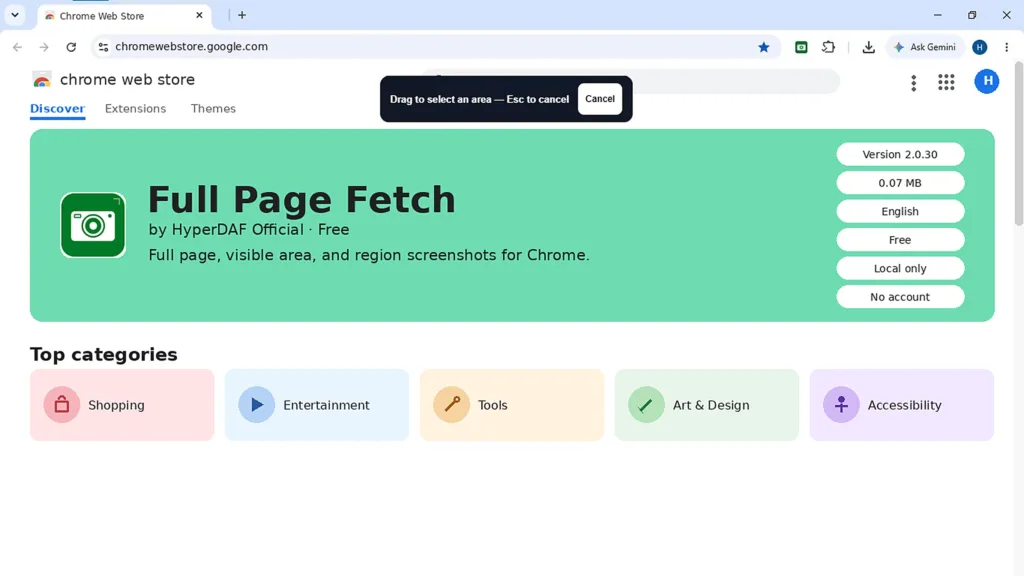
Open the page you want to capture and open the extension’s small widget. Choose Full Page to capture the whole page, Visible Area to capture exactly what is on screen, or drag to Select Area and capture that exact region. For a full-page capture, the compact progress card appears at the top-right and shows live squares and a percent while the extension scrolls and captures the page.
Step 3: Preview, edit, and save
The result opens in a new tab at 100% actual size, so what you see is the real image, not a scaled-down preview. Edit it if you need to, then copy it to the clipboard, save it where you choose, download it, or export it as a PDF. That is the whole workflow: install once, capture in a click, and save the result.
Choose the right capture mode
The three modes do different jobs. Picking the right one saves you from capturing a huge image when a small one would do, or from missing the part of the page you actually needed.
| Mode | What you get | Use it when |
|---|---|---|
| Full Page | The whole page, top to bottom, stitched into one image | You need the complete page: a design review, a record of a page before changes, or a long article to share |
| Visible Area | Exactly what is on screen right now | You only need what you can see: a bug in the header, a popup, or a section that fits on one screen |
| Select Area | The exact region you drag over | You need one part of a page: a pricing table, a form, or a single section without the rest of the page |
If you are not sure, start with Full Page. It costs you nothing extra, and you can crop the result down to the part you need in the built-in editor.
What the progress card tells you, and why it never ruins the shot
The progress card is a compact card that stays visible at the top-right corner of the browser window during a full-page capture. Its live squares and percent show how far the capture has gone, so you are not left staring at a frozen page wondering whether anything is happening. The card never hides during capture, and it never appears in the final screenshot. When the capture completes, the card shows Complete, closes, and the screenshot opens in a new tab.
There is one exception worth knowing about. The card lives in its own window, so it never hides during capture and never appears in the final screenshot. If that window cannot open, a page card is used as a fallback, and it hides only for each capture instant. Either way, the card does not end up in your image.
Where a full-page screenshot actually helps
A full-page screenshot is most useful when the whole page is the evidence. Here are five everyday uses, all from ordinary WordPress work:
- Review a landing page. Capture the whole page and read it top to bottom as a visitor would. If you are building one, work through how to build landing pages with blocks and no code first, then capture the result and check the hero, the trust section and the call to action in one image.
- Check a block layout. After building a page in the editor, capture it whole and look for spacing, alignment and heading problems you miss while scrolling. The complete guide to the WordPress block editor covers the layout tools you will be checking.
- Compare staging with live. Capture the same page on staging and on the live site, then put the two images side by side. If you have not set staging up yet, start with the WordPress staging site setup guide.
- Keep a record before you update. Before an update, capture the pages that matter, then capture them again after. If something changes, you have the before image to prove it. Pair this with a proper backup, as described in the WordPress backup and restore guide, and the steps in how to safely update WordPress.
- Document speed work. When you work through the WordPress speed optimization checklist, capture the pages you change. The images give you a dated, visual record of what the site looked like before and after.
The built-in editor: mark it up without leaving Chrome
Capturing the screenshot is only half the job. Most screenshots need a small fix before you send them: a crop, an arrow, a blurred email address. Full Page Fetch has a built-in editor, so you do that work in the same tab instead of opening another app. It offers Crop, Pencil, Rectangle, Arrow, Text and Blur, with Undo and Reset.
Each tool does what its name says. Crop cuts the image down to the part that matters. Pencil lets you draw freehand. Rectangle and Arrow draw attention to one spot, which is how you point at the exact button or error message you mean. Text adds a short label. Blur hides anything private, such as an email address or a name, before you share the image. Undo steps back one change, and Reset starts the edit over. Do the edit, then copy, save, download, or export the finished image as a PDF.
Formats, saving and the BMP and TIFF clipboard note
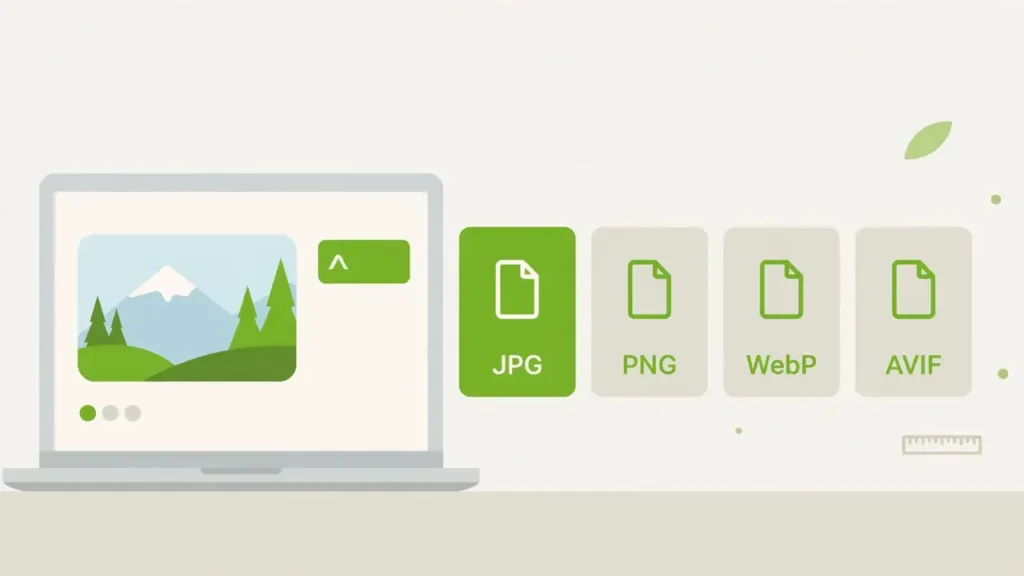
Full Page Fetch saves in JPG, PNG, WebP, BMP and TIFF, and it can export a PDF. You can copy the screenshot to the clipboard, save it where you choose, or download it instantly. The right format depends on what the image is for. PNG suits pages full of text and sharp interface edges, because it keeps them crisp. JPG suits photographs and busy images, where a smaller file matters more than pixel-perfect edges. WebP gives you a small file for the web. PDF works when the capture needs to read like a document, for example a record you send to a client.
There is one detail to know before you copy a BMP or TIFF image. A clipboard copy of BMP and TIFF pastes a high-quality PNG, not a BMP or TIFF file. Saved BMP and TIFF files are exact. So if you need the real BMP or TIFF file, save or download it instead of copying it. If you only need to paste the image into a document or a chat, the clipboard copy does the job.
Limits you should know before you capture
Every screenshot tool has a size limit, and this one states it plainly. The image is completed within a 30,000 pixel height and 60 million pixel limit. Very tall pages are downscaled to fit, never cut off. That matters because the alternative — a screenshot that silently drops the bottom of the page — would leave you believing you had the whole page when you did not. Here you still get the whole page, just at a smaller scale on the very tallest pages.
There is also a limit on what Chrome lets any extension capture. Full Page Fetch cannot capture Chrome’s own protected pages, such as chrome://extensions or the Web Store. That is a Chrome rule, not a missing feature: Chrome does not allow any extension to capture its own protected pages. Ordinary websites, including very long ones, capture normally.
Privacy and permissions: what it can see, and what it cannot
Full Page Fetch runs entirely on your device. It does not upload your screenshots, does not require an account, and does not track you. Captures stay on your device unless you save or share them yourself. If you want the full legal wording, read the Full Page Fetch privacy policy.
Like every Chrome extension, it asks for permissions. Each one has a stated reason, and all seven are tied to a visible part of the job:
| Permission | Why it is needed |
|---|---|
| activeTab | Capture the tab you are viewing. |
| scripting | Scroll the page and select a region. |
| tabs | Open the preview in a new tab. |
| downloads | Save the screenshot file. |
| storage | Remember your settings and hold the preview image. |
| clipboardWrite | Copy the screenshot to the clipboard. |
| offscreen | Stitch slices and encode formats off screen. |
Notice what is missing from that list: there is no permission for sending your data anywhere, because nothing is sent. The extension is local only by design, and the permission list matches that promise.
Frequently asked questions
These are the questions on the Full Page Fetch page itself, answered in its own words.
Is Full Page Fetch really free?
Yes. Every capture, edit, and format is free. There is no paid version of the extension.
Do I need an account?
No. Install it and capture right away.
Where do my screenshots go?
Nowhere except where you choose. Captures stay on your device unless you save or share them yourself.
Can it capture Chrome pages like chrome://extensions or the Web Store?
No. Chrome does not allow any extension to capture its own protected pages.
Why does the progress card hide for a moment on some pages?
The card lives in its own window, so it never hides during capture and never appears in the final screenshot. If the window cannot open, a page card is used as a fallback and it hides only for each capture instant.
What if a page is extremely tall?
The image is completed within a 30000 pixel height and 60 million pixel limit. Very tall pages are downscaled to fit, never cut off.
Your first capture: a 5-minute checklist
- Install Full Page Fetch free from the Chrome Web Store.
- Open the page you want to capture and scroll through it once, so lazy-loaded images and sections have loaded.
- Choose Full Page for the whole page, Visible Area for one screen, or Select Area for one region.
- Watch the progress card at the top-right until it shows Complete.
- Check the result in the new tab at 100% actual size, crop or blur anything you need to, then save it in the format that fits the job.
- If the page looks stale or outdated, clear your WordPress cache and capture it again.
Get Full Page Fetch free
Full Page Fetch is free, local-only, and needs no account. Get it from the Chrome Web Store, or read the full details on the Full Page Fetch page.