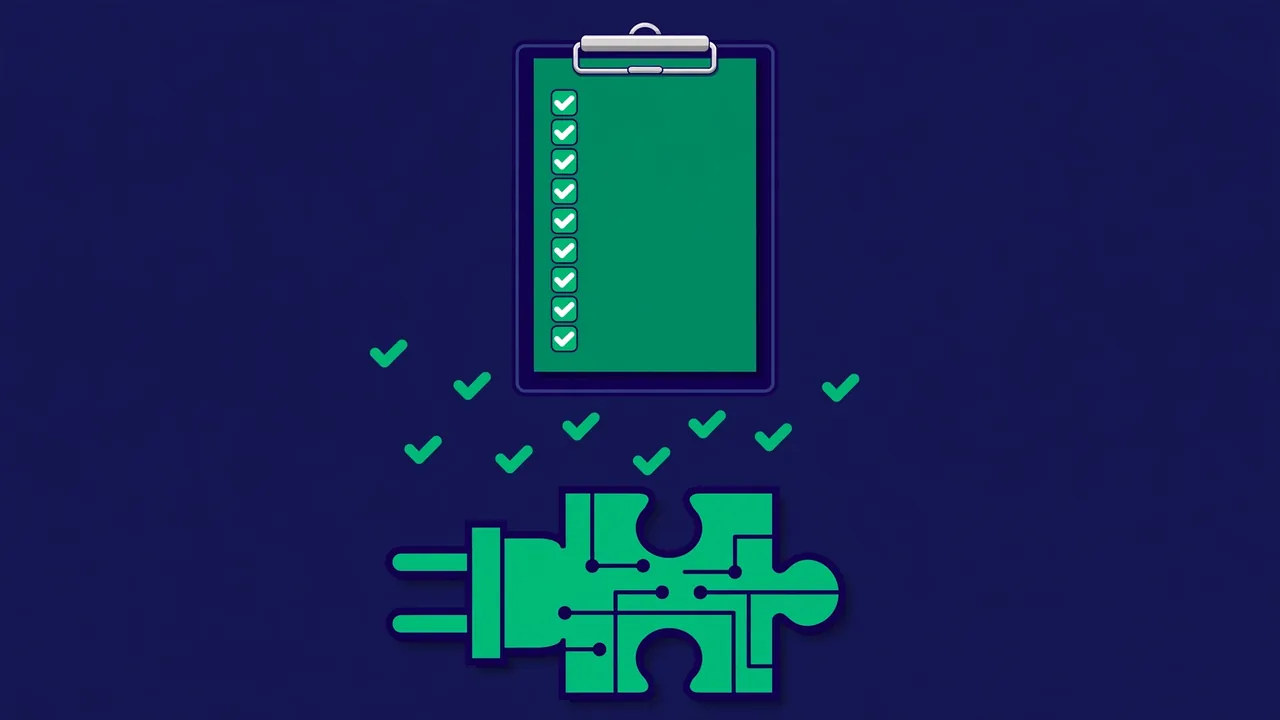
Clicking “Activate” is the moment a plugin goes from inert files to live code running on every page of your site. Most people treat it as a formality. Experienced site owners treat it as a decision point — the last chance to catch problems before they touch your visitors. These ten checks, grouped into five stages, take about fifteen minutes total, and they prevent the overwhelming majority of plugin disasters.
Why a Pre-Activation Ritual Matters
Plugin problems are asymmetric: five minutes of prevention versus five hours of emergency repair. A bad activation can white-screen your site, corrupt checkout flows, slow every page, or open a security hole — and it always happens at the worst moment, because that is when you finally got around to installing it. Professionals do not have fewer plugin problems because they are luckier; they have fewer because they run the same checks every time, on every site, without exception. What follows is that ritual, refined into ten checks you can actually remember.
Checks 1–3: Need, Compatibility, and Trust
Check 1: Confirm You Need It at All
The best plugin is the one you do not install. Before activating, state in one sentence what the plugin does that nothing on your site currently does. If you cannot — if it overlaps with your theme’s features, another plugin, or WordPress core — stop here. Redundant plugins are the leading cause of the conflicts in Check 4, and “might be useful someday” is how sites accumulate thirty plugins. Be especially strict with plugins that duplicate core features added in recent WordPress versions; what required a plugin five years ago is often built in now.
Check 2: Verify WordPress and PHP Compatibility
Open the plugin’s details and confirm it lists compatibility with your WordPress version and PHP version — not just “WordPress” in general. A plugin tested two major versions ago may still work, but major core updates change APIs, deprecate functions, and alter default behaviors. Untested plugins are the ones that white-screen sites after core updates. If you are running a very new WordPress release and the plugin has not been tested against it, wait or test on staging first. Also check the “tested up to” field specifically — it is the author’s own statement of confidence, and an old date is the author telling you they have not checked in a while.
Check 3: Research the Author’s Track Record
You are not just installing code; you are entering a maintenance relationship with its author. Look for a history of regular updates, answered support threads, and ideally more than one well-regarded plugin or a professional website behind the work. Solo developers can be excellent — many of the best plugins are one-person projects — but an author who vanished two years ago leaves you maintaining their code by default. Check the changelog too: frequent, clearly described updates signal care; a changelog that just says “various fixes” for three years signals the opposite. If the plugin is premium, confirm the company behind it looks like it will exist next year.
Checks 4–6: Conflicts, Permissions, and Performance

Check 4: Scan for Conflicts With Your Current Stack
List what the new plugin touches — database tables, JavaScript libraries, admin menus, rewrite rules, login flow, checkout — and compare against your existing plugins. Two plugins modifying the same thing will fight. Classic collisions: two caching plugins, two SEO plugins, two security firewalls, two plugins both loading their own version of the same JavaScript library. If you find overlap, choose one and remove the other; running both “to be safe” is the opposite of safe. Also check the plugin’s FAQ or documentation for a known-conflicts list. Reputable authors publish one, and if your exact combination is listed, believe it.
Check 5: Read the Permissions It Requests
During setup, note what the plugin asks for: admin capabilities, API keys, permission to transmit usage data, account creation on the author’s service. A contact form plugin has no business asking for your file system credentials, and a simple widget has no business demanding an external account for basic features. Overly broad permission requests are a red flag — legitimate plugins request the minimum access they need and explain why. If a plugin demands an account on an external service for basic functionality, weigh whether that dependency is acceptable to you long-term, because if that service shuts down, your plugin goes with it.
Check 6: Measure the Performance Cost
Every active plugin adds load time; the question is how much. Before activating, you can estimate: check reviews and forums for performance complaints, and look at what the plugin loads — plugins that enqueue heavy scripts and styles on every page (rather than only where needed) are the expensive ones. A gallery plugin loading its lightbox scripts on your contact page is wasteful by design. After activating, test properly: measure your key pages’ load times before and after with your usual speed tool, and compare like for like. A plugin that adds a full second to every page needs to earn that cost with real value. Page builders, sliders, and anything with “all-in-one” in the description deserve extra scrutiny here.
Checks 7–8: Exit Strategy and Staging
Check 7: Confirm a Clean Uninstall Path
Ask the uncomfortable question now: if I remove this later, what happens? Good plugins clean up after themselves — an uninstall routine that removes their database tables and options. Bad ones leave orphaned tables, leftover options, and shortcodes rendered as ugly raw text across your content. Check the documentation or support forum for uninstall behavior. Plugins that create custom content (custom post types, shortcodes embedded in posts) deserve special caution: plan your exit before you enter, or you will be locked in by your own content. The cost of leaving a bad plugin should be an afternoon, not a rebuild.
Check 8: Test on Staging First for High-Risk Plugins
Not every plugin needs staging — a simple widget plugin is low-risk. But anything touching payments, user accounts, security rules, database structure, or URL routing should be activated on a staging copy first. Click through the affected flows as a logged-out visitor, not just as admin: complete a test purchase, submit the form, try the login, check the emails that get sent. Admins see a different site than visitors do — different caching, different capabilities, different menus — and most plugin breakage is visitor-facing. If you have no staging environment, at minimum test during your lowest-traffic hours with a backup ready.
Checks 9–10: Rollback Plan and the Monitoring Window

Check 9: Have a Rollback Plan Ready
Before you activate, know exactly how you will undo it: a fresh backup you can restore in minutes, or at minimum the knowledge that renaming the plugin’s folder via FTP deactivates it instantly — no dashboard required. Write down the plugin version you installed. If an update later breaks things, you will want to roll back to this known-good version, and “whatever was there before” is not a version number. For critical sites, also note the versions of plugins it interacts with, so you can reconstruct the exact working combination.
Check 10: Activate, Then Watch
Activation is not the finish line — it is the start of a monitoring window. For the next day or two, keep an eye on your site’s error log, the Site Health screen (Tools → Site Health), page load behavior, and any scheduled tasks the plugin registered. Many plugin problems surface within 24 hours — a cron job that fails silently, a notice that appears only for logged-out users, a checkout step that breaks without errors. A plugin that survives its first 48 hours of real traffic without incident has passed the most important test of all, and only then should you consider the installation truly done.
Making the Checklist Stick
A checklist you run “usually” is decoration. The professionals who avoid plugin disasters share one trait: they made the checks non-optional policy, especially on client and business sites. Print the ten checks, keep them where you work, and run them in order until they become reflex. The fifteen minutes will feel tedious the first three times and invisible after the tenth — and the emergencies you never have will be the proof it works.
Pro tip: turn these ten checks into a personal policy document: no plugin gets activated on a client or business site without them. Consistency is what separates professionals from people who “usually check.” The checklist only works if you actually run it every time.
None of these checks requires deep technical skill — just discipline. Vet the need, verify compatibility, research the author, scan for conflicts, question permissions, measure performance cost, confirm clean uninstall, stage the risky ones, prepare rollback, and monitor after activation. Fifteen minutes of diligence at install time buys you freedom from the 2 AM emergencies that everyone else seems to have.